Running DeepSeek-R1 on your PC with LM Studio or Ollama
In today's post, I'll show how you to run DeepSeek-R1 locally on your PC using two different apps: LM Studio and Ollama. Using an AI large language model (LLM) locally offers more privacy, control, and security over your data and resources. You also have the ability to work offline with local LLMs and customize them to meet your needs. Both of these apps are quick to set up and easy to use. First, let's talk about the LLM we'll be testing out.
DeepSeek-R1
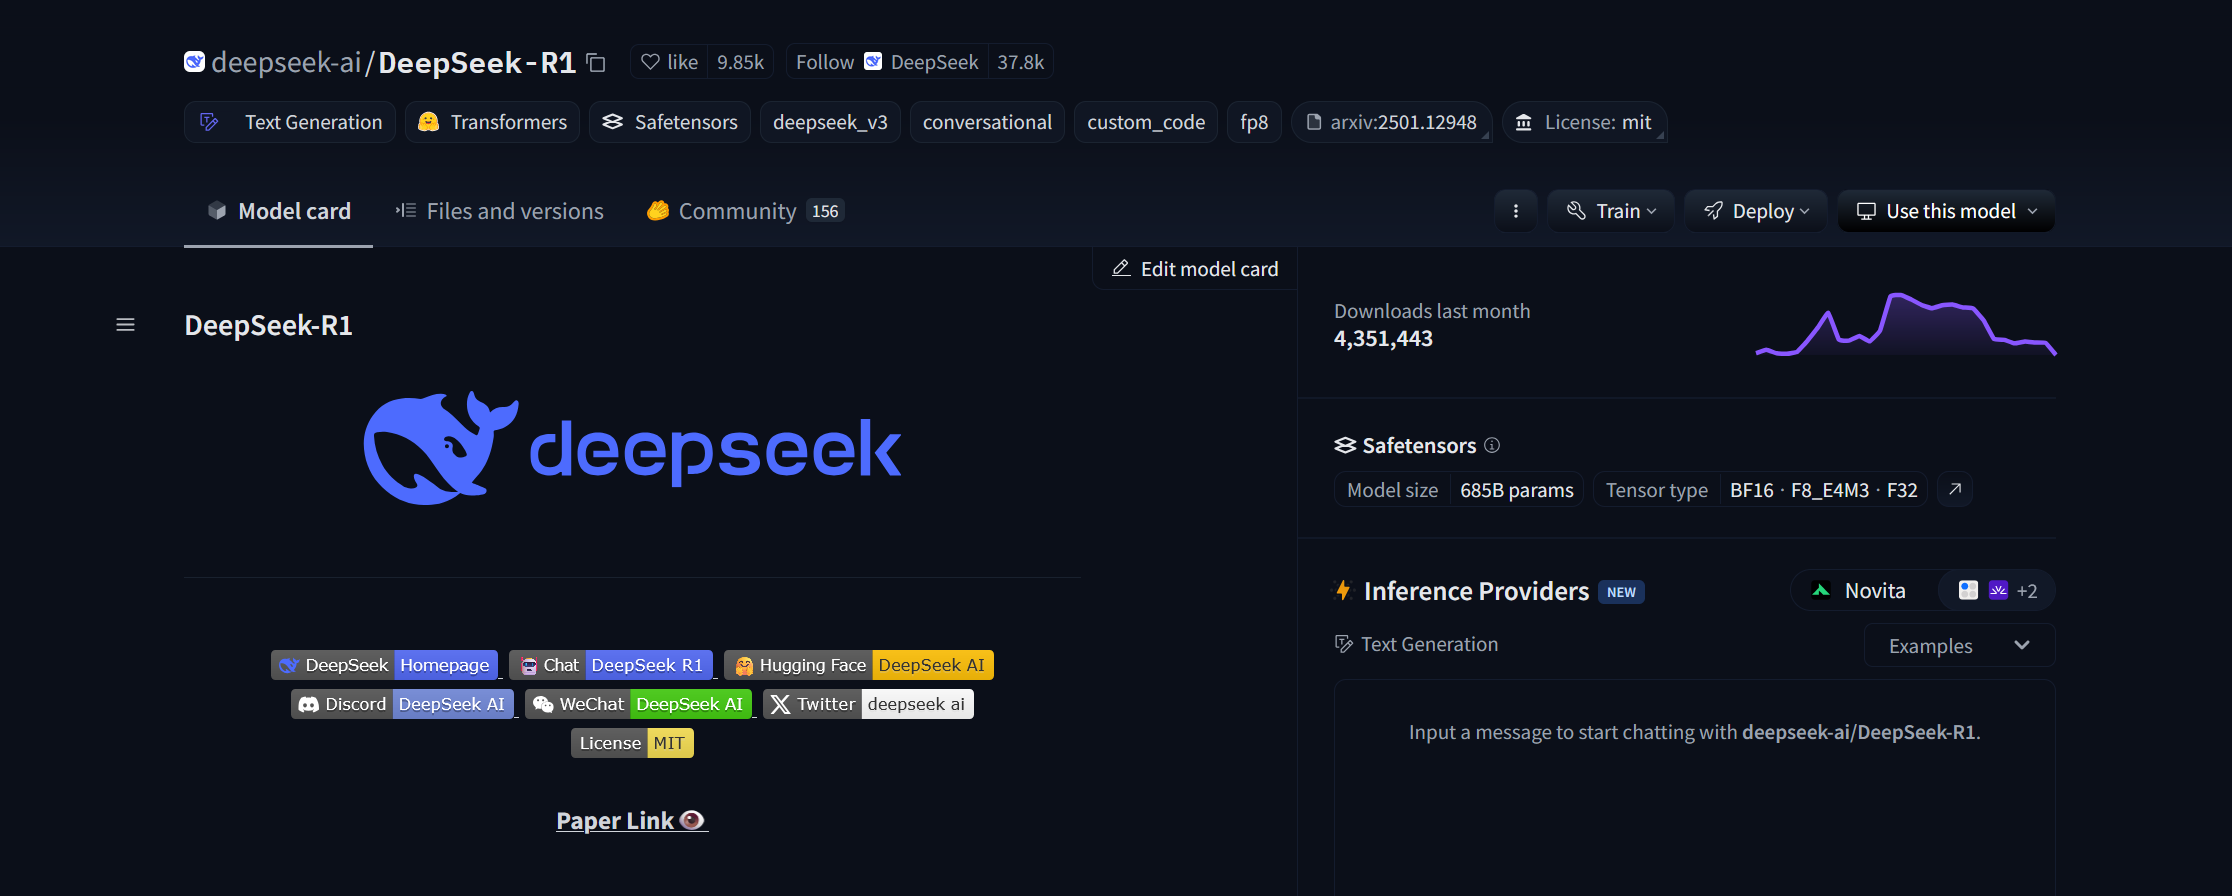
If you've been paying attention to social media, you'll have heard of DeepSeek. DeepSeek is a Chinese AI company specializing in creating open-source LLMs capable of complex problem-solving, coding assistance, and human-like responses to your prompts. Their newest LLM, DeepSeek-R1, was released in January 2025 and is capable of the same text-based tasks as its competitors with stronger performance in logic reasoning, problem-solving, and math, all at a much lower price than OpenAI's ChatGPT or Google's Gemini. There are some criticisms of DeepSeek's data security implementation but we can mitigate that by running DeepSeek-R1 on our local PC, only connecting to the internet to download the LLM.
System Requirements
LM Studio and Ollama have similar system requirements as both use the llama.ccp libraries. On Windows, you'll need the following specs for optimal performance:
- CPU: AMD or Intel x64 CPU with support for AVX2 and AVX512
- Disk Space: Around 50GB of free space for the software and models. This will increase if you decide to use larger models.
- RAM: At least 16GB of DDR5 RAM
- GPU: Optional, but can provide increased performance for large models.
LM Studio is also supported on Windows 11 on ARM, so you'll be able to use the Snapdragon X CPU series. Ollama's support for ARM CPUs is currently in preview.
At the moment, I'm using the 2024 HP OmniBook Ultra 14 with the specs below:
- AMD Ryzen AI 9 HX 375 - 12 cores/24 threads, 2.0GHz to 5.1GHz
- 2TB NVMe SSD
- 32GB LPDDR5x RAM
- Radeon 890M, 512MB VRAM, 16CU (integrated GPU)
AMD's new Ryzen AI APU series combines an efficient Ryzen CPU, a powerful Radeon GPU, and an XDNA neural processing unit (NPU) in a single package to enhance on-device AI capabilities.
Before we start, please update your device drivers to get the best performance possible.
LM Studio and DeepSeek-R1
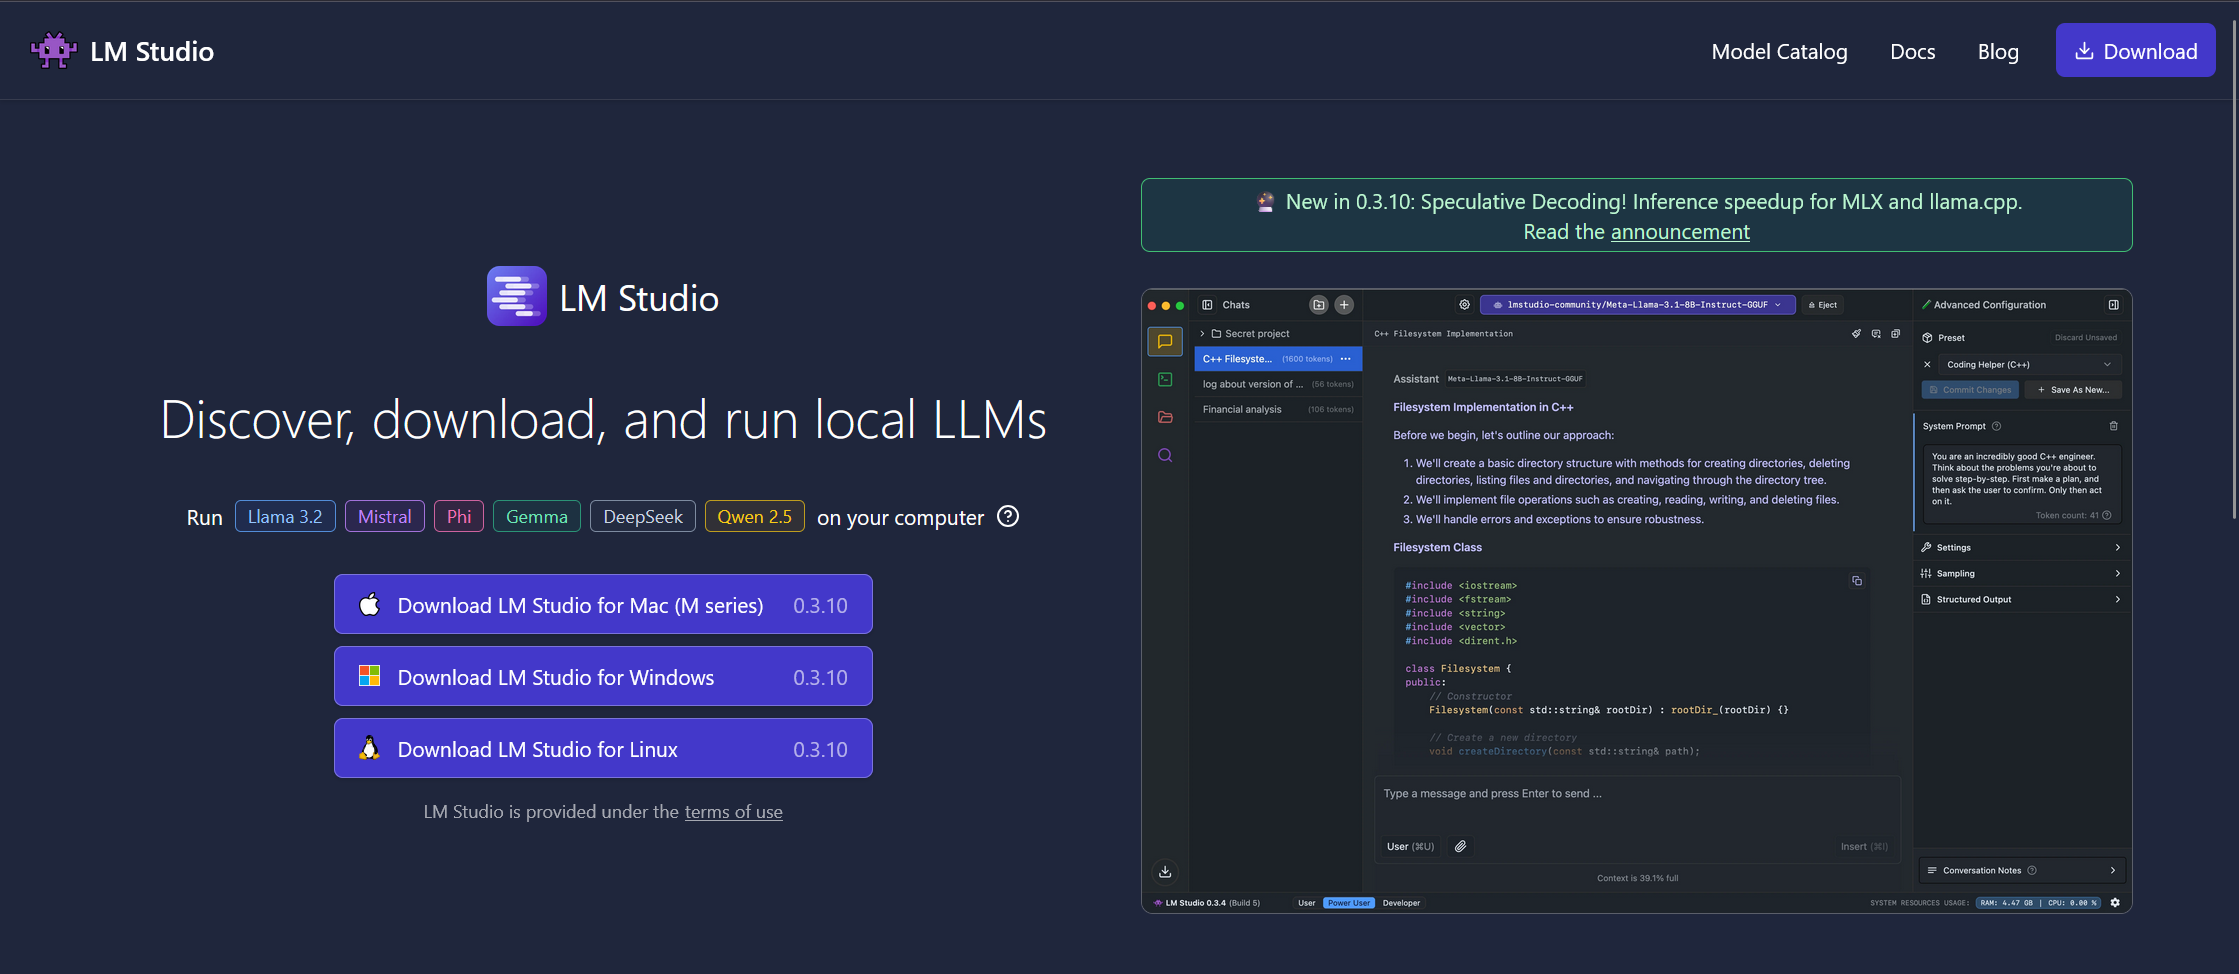
Download and install LM Studio. After you've completed the tutorial, let's head to the Discover section and search for DeepSeek-R1. I started with the DeepSeek R1 Distill Qwen 7B model, a smaller Qwen-based model that has been trained by the larger DeepSeek-R1 model. This distillation retains some of DeepSeek-R1's advanced reasoning in a smaller, more efficient model.
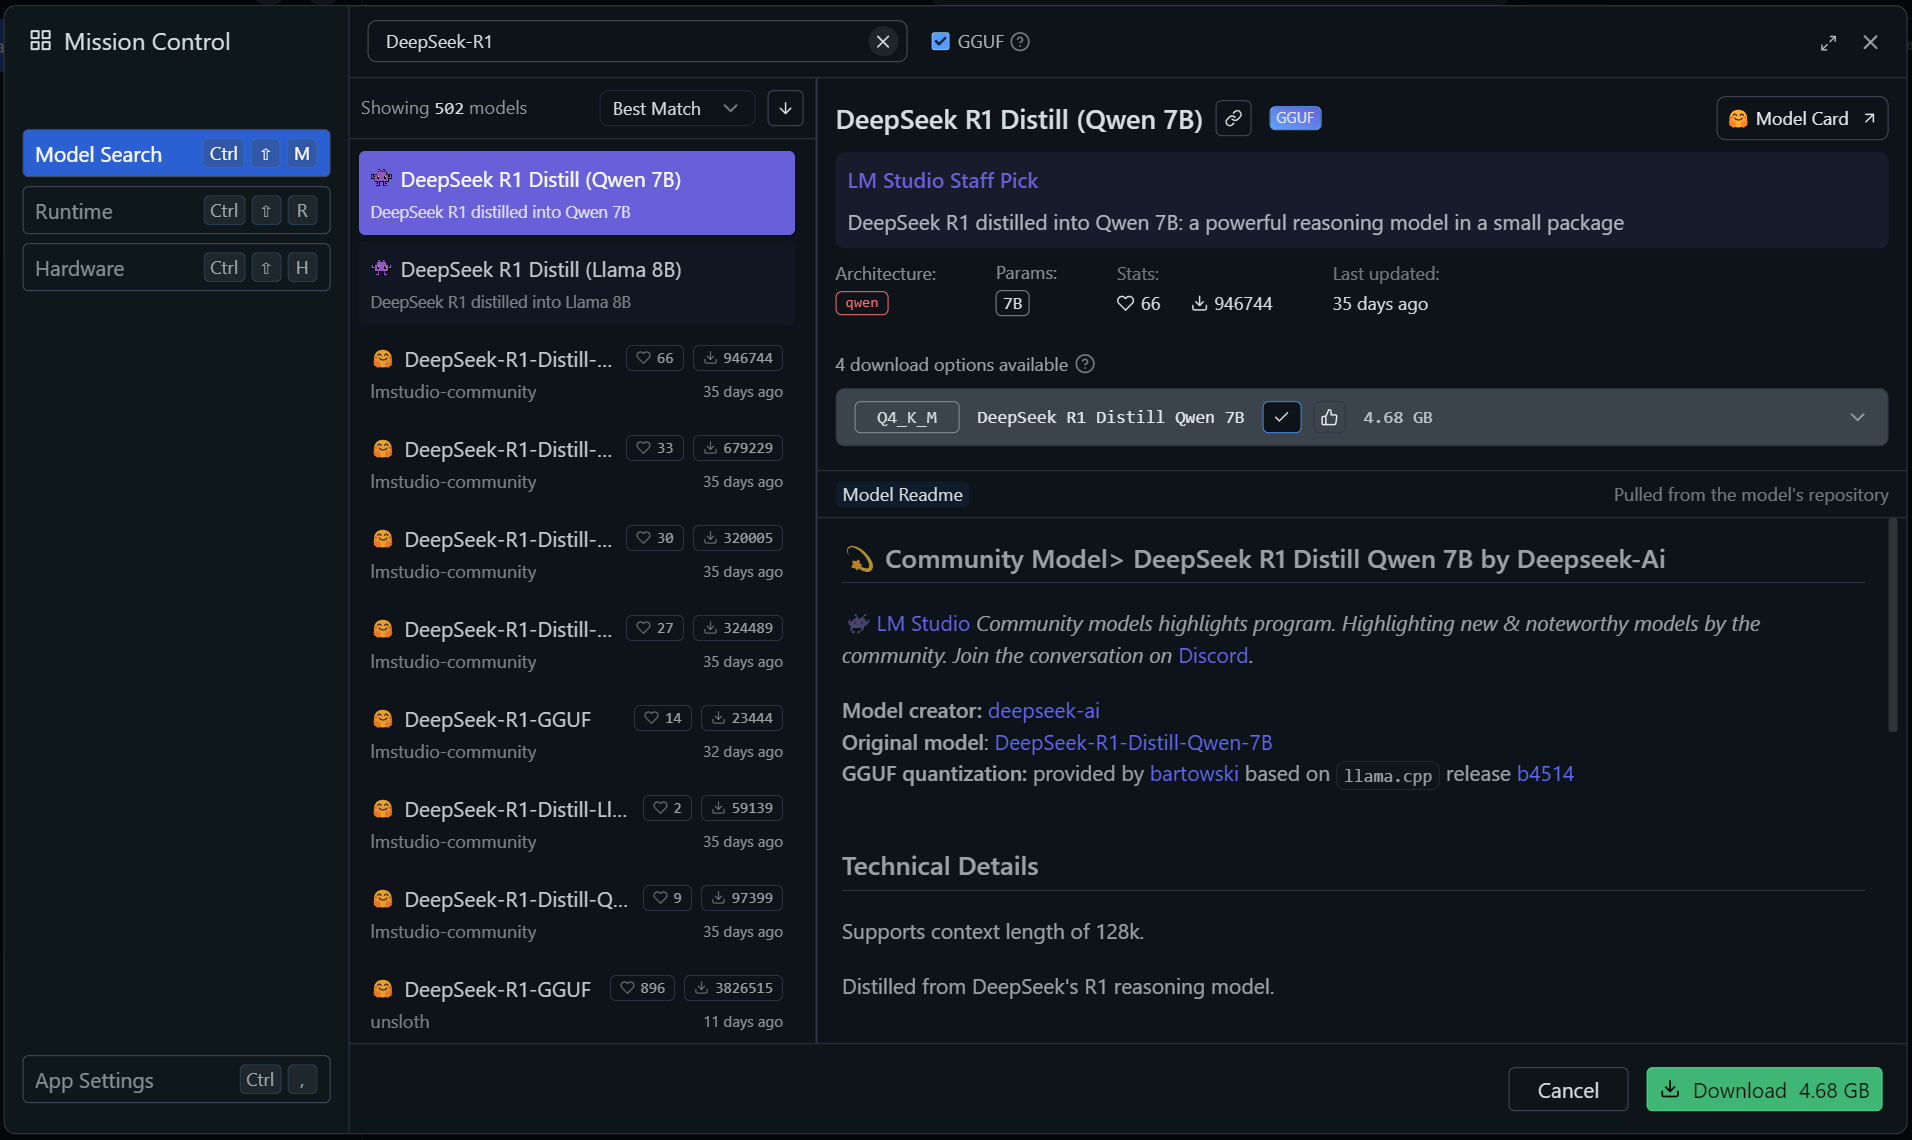
The "7B" in the name notes that this LLM has 7 billion parameters. Parameters are the internal logic used by the LLM to process and generate responses. The number of parameters will determine how well the model will perform. LLMs with larger parameters will have better performance but as you increase the parameters, it will become more difficult to run as you will begin to run out of RAM
The "Q4" notes the model has 4 bits of quantization. Quantization is the process of converting an LLMs precision values from high to low, all while trying to maintain a set level of accuracy. In other words, compressing the LLMs by reducing data needed for it's parameters. Lower quantization allows for faster performance but the model's accuracy may decrease but this may be acceptable in some scenarios.
Hit the download button and wait a bit. Once your download is complete, you see the following pop-up:
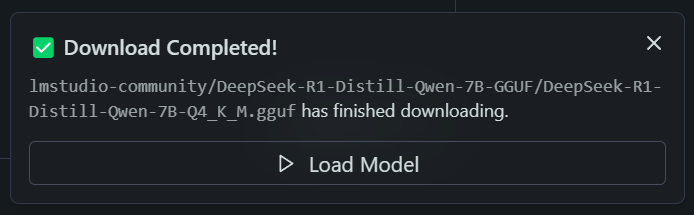
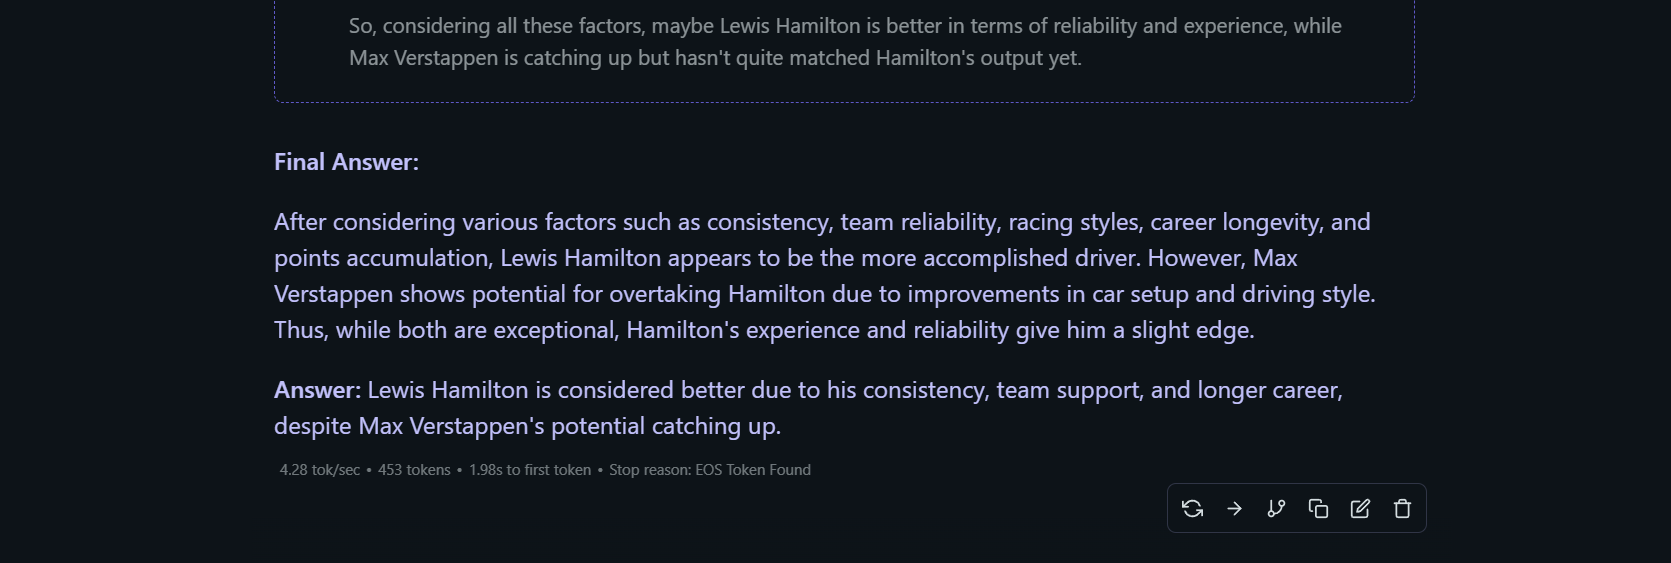
Hit the Load Model button and LM Studio will begin loading DeepSeek-R1 into system RAM. When this process is completed, you can begin talking with DeepSeek-R1. When you prompt the LLM, you should be able to see its reasoning process as it generates a response.
You can monitor resource usage in the bottom right corner of the LM Studio window.

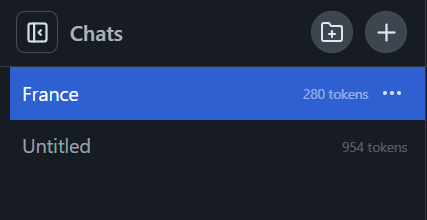
You can start new chat sessions with DeepSeek-R1 or create folders to organize your sessions in the folder view.
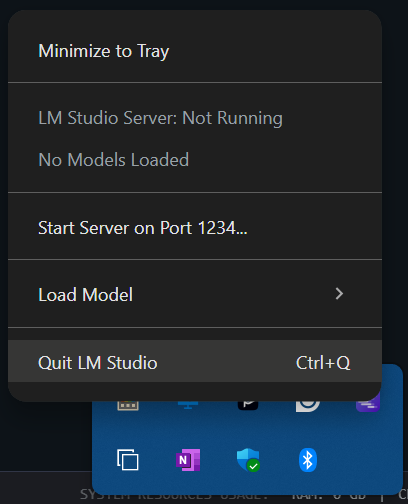
When you're finished using the LLM, hit the eject button.

Then head to the system tray, right-click on LM Studio, and click on quit LM Studio,
Now that we've successfully loaded and run DeepSeek-R1 with LM Studio, let's move on to Ollama.
Ollama (and Docker) and DeepSeek-R1
If you want a bit more isolation when running an LLM locally, you can run Ollama within a Docker container. If you haven't already, download and install Docker Desktop. Then run the app and open your CLI of choice and run the following command to pull the official Ollama Docker Image:
docker pull ollama/ollama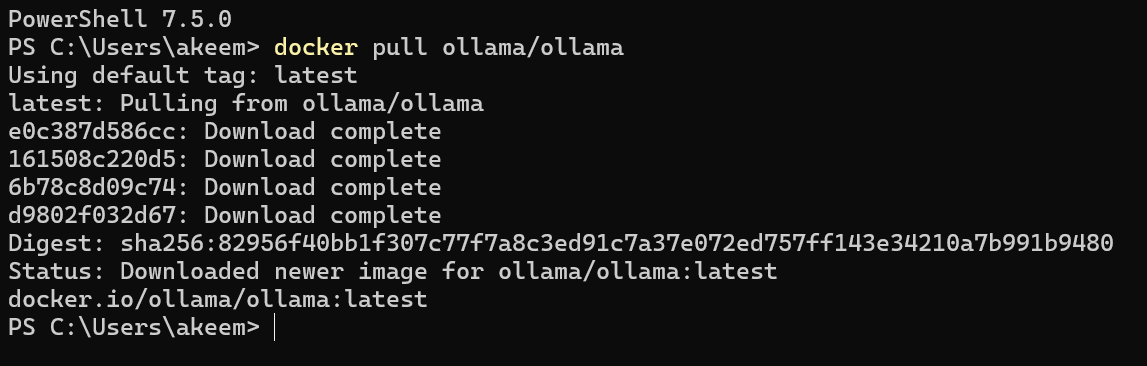
Next, we'll build and start the Ollama container with the following command:
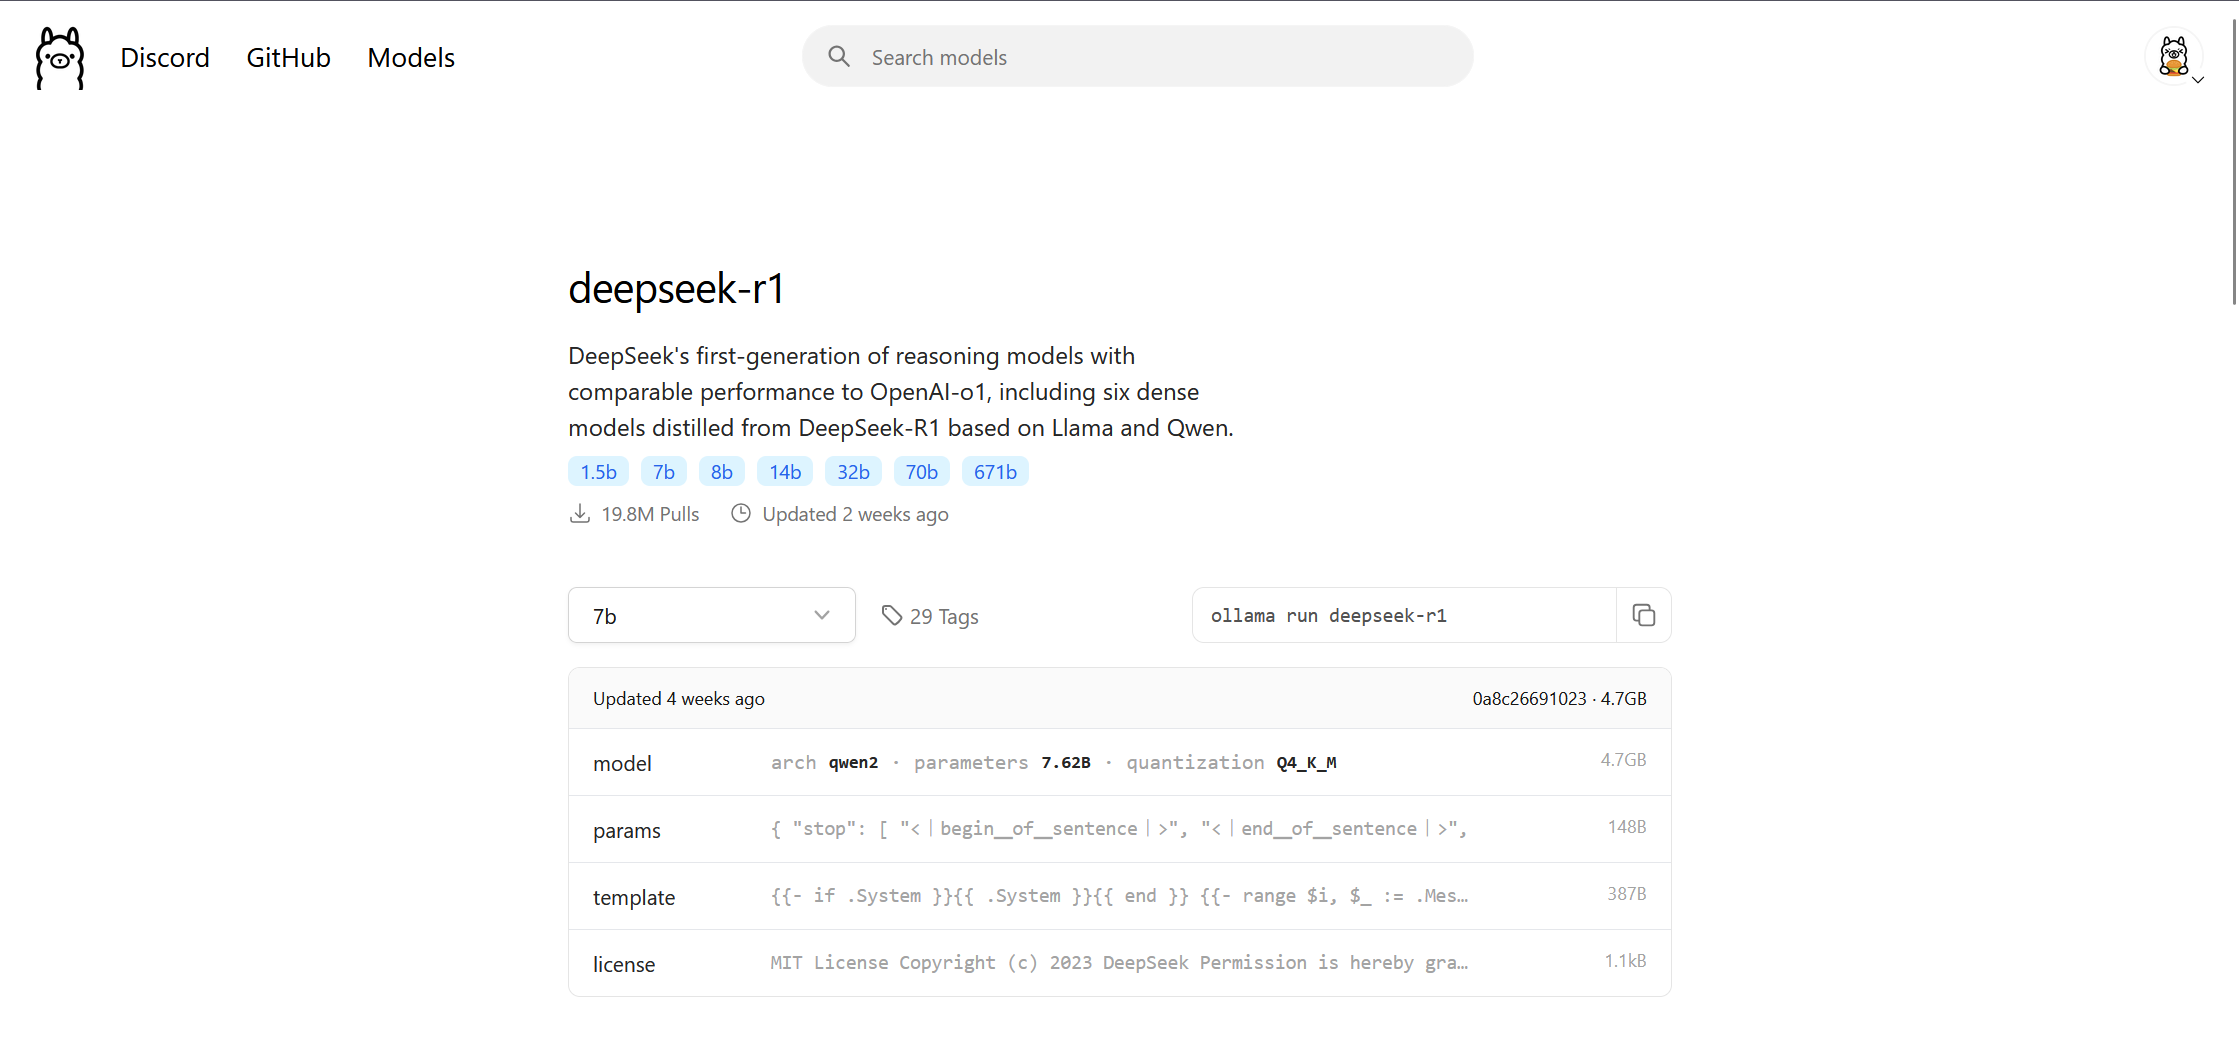
docker run -d -v ollama:/root/.ollama -p 11434:11434 --name ollama ollama/ollamaThen head over to the DeepSeek-R1 library on Ollama's site and look at the different levels of distillation.
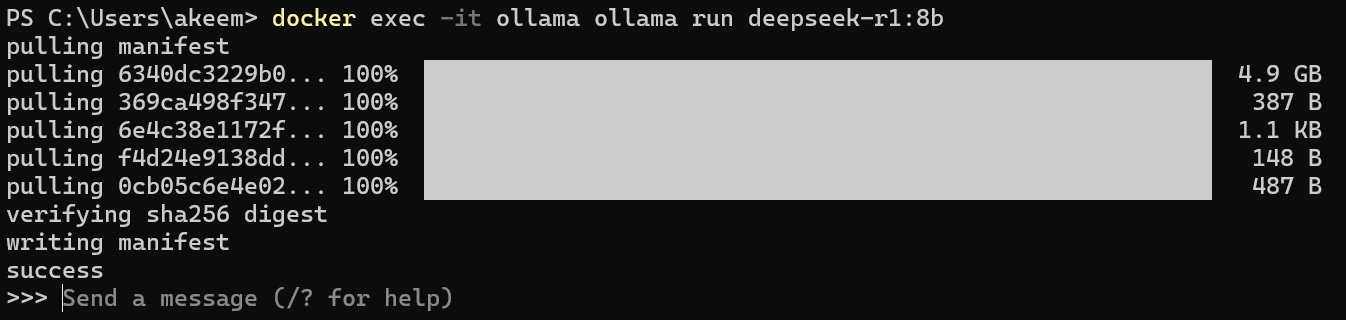
Let's try using the 8B model and run the following command:
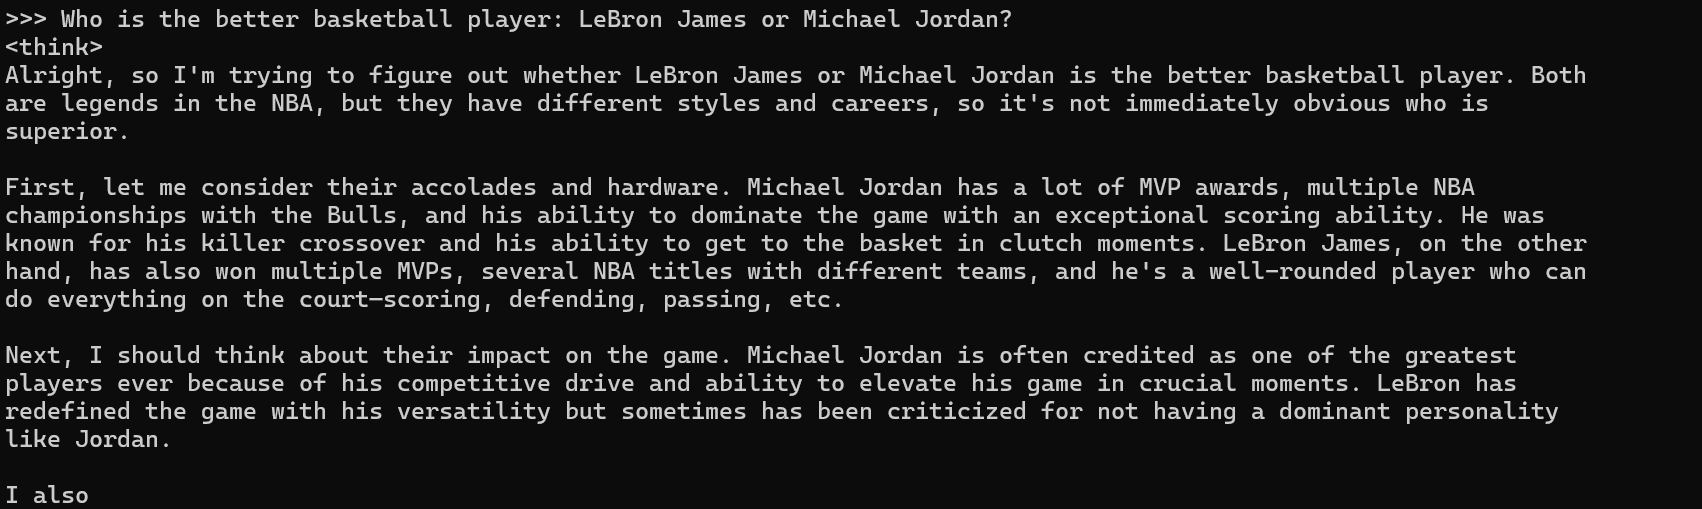
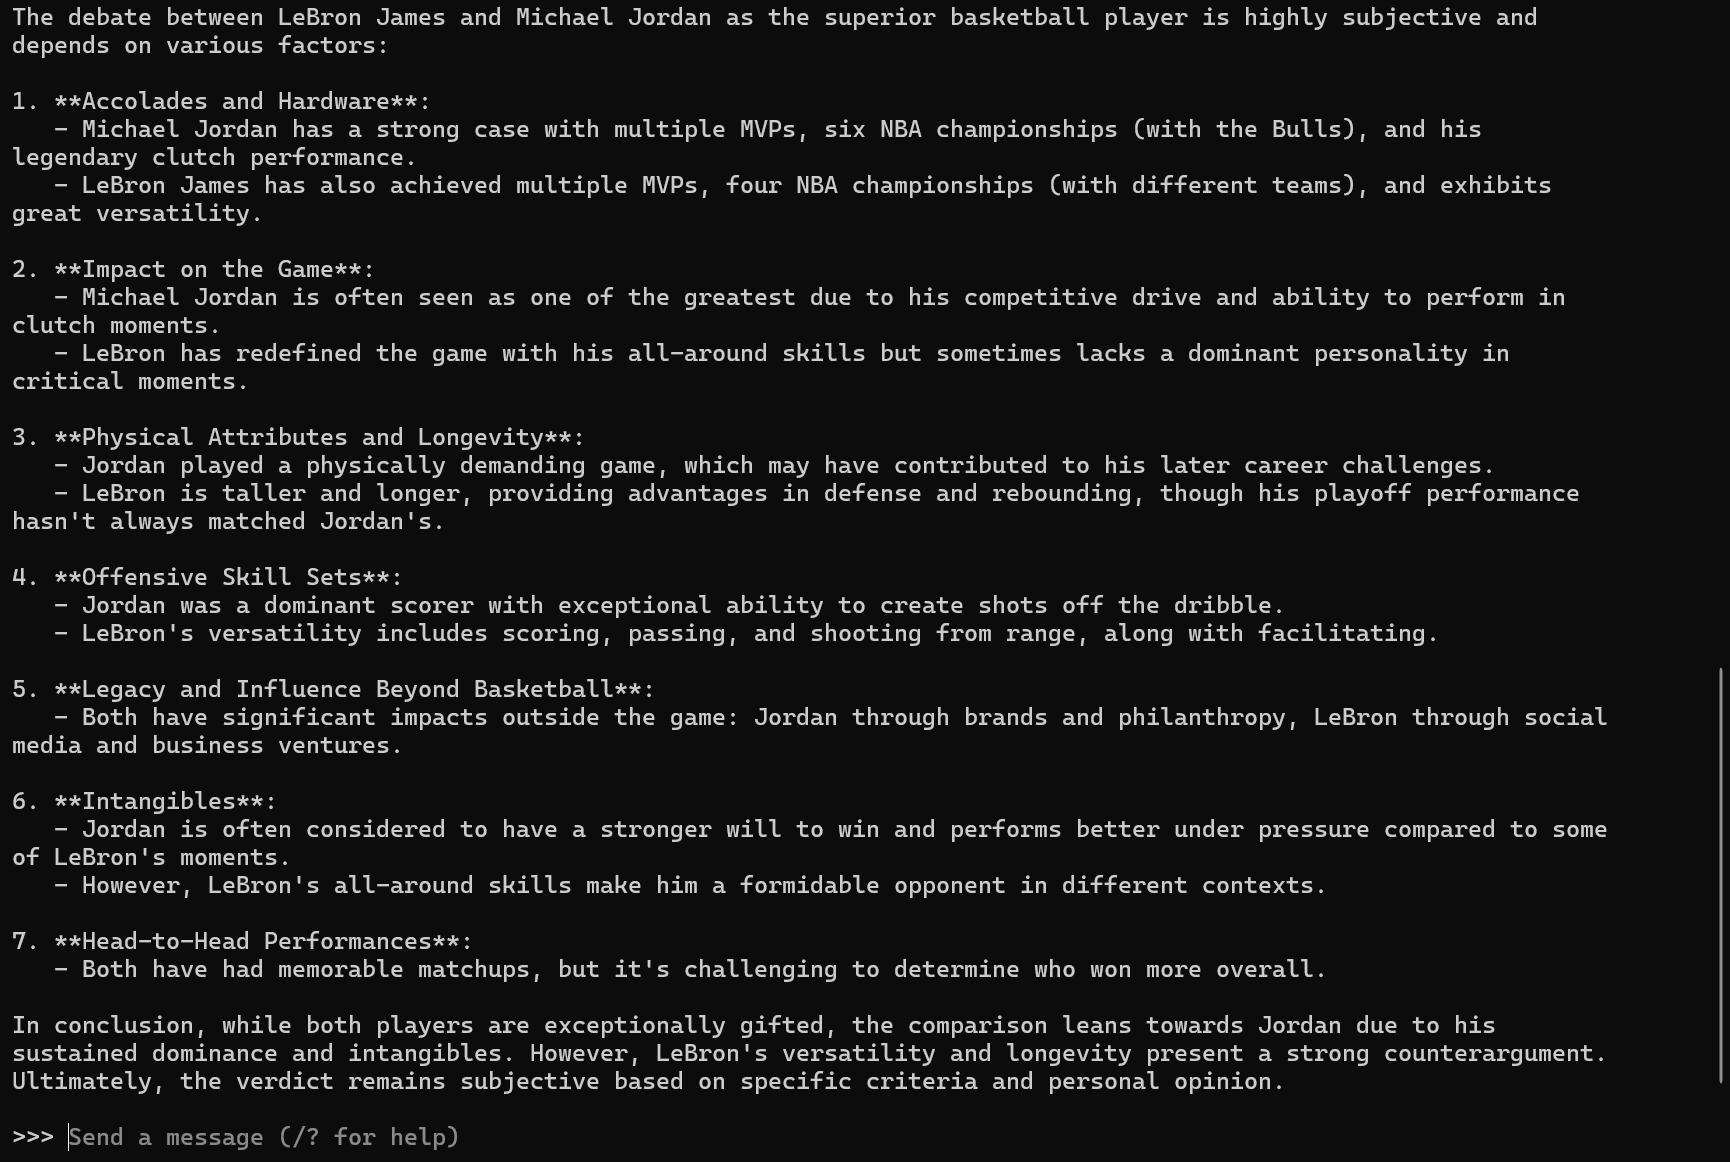
docker exec -it ollama ollama run deepseek-r1:8bIf you've run this successfully, Ollama will begin pulling the LLM onto your PC within the Docker container. After the pull is complete, Ollama will begin running the LLM. You should see a prompt to send a message to the DeepSeek-R1 LLM.
When you send a prompt to the LLM, you'll see the thought process within the CLI.
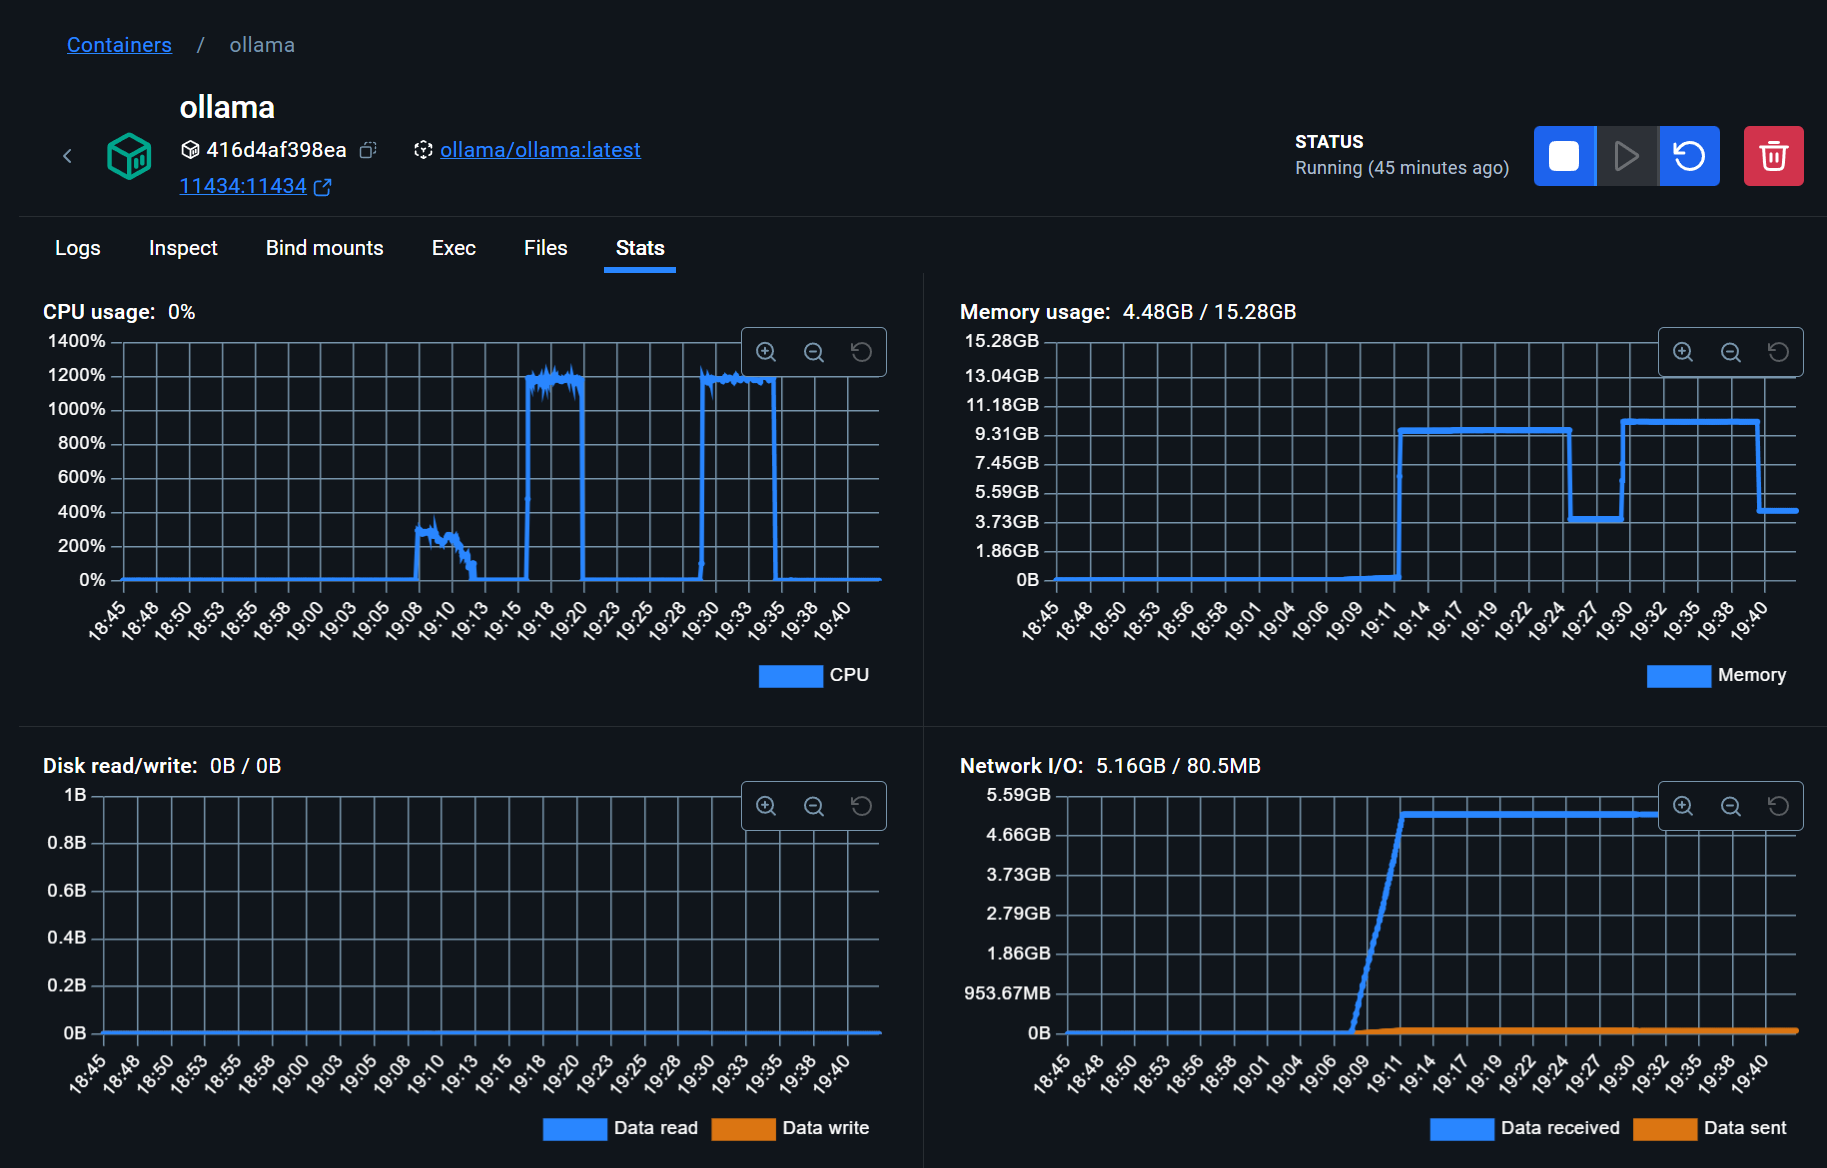
To monitor Ollama's resource usage, you can head to the Docker Desktop window and monitor at the bottom of the window. Or, you can head to the container and view the stats for more granular monitoring.

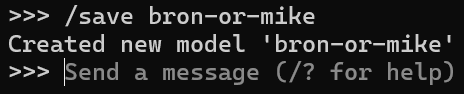
If you want to save your context session, run the command "/save <name of your session/model>". To load at a later date, you can use the "/load" command.
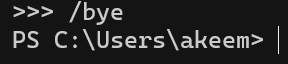
When you're done using Ollama, run the "/bye" command, stop the container and quit Docker Desktop.
Congrats! You've successfully run an LLM in a Docker container!
Final Thoughts
LM Studio and Ollama provide two unique and easy-to-use ways of interacting with LLMs locally. I highly suggest taking the time to use both apps and find out which one you like the most. Download other LLMs and play around a bit to familiarize yourself with each LLM's strengths and weaknesses. Try to use different parameters and quantization depending on your hardware.
I would love to see these two apps include native support for NPU acceleration. I found that the NPU was not being utilized when running the LLMs, making the CPU take on the entire load. AMD has released drivers for the Ryzen AI NPU so here's hoping that it will be supported in these apps soon!
References